When COVID initially shut things down, I (like many people) learned how to make bread at home. I was really happy with the results, and I took time to write down the process so that I could share it with people. This bread is so easy and so delicious! You only need a few ingredients and a few pieces of equipment, some practice, and attention to the clock.
Each step is easy and takes no more than five minutes, although some steps may take a bit of practice to get comfortable with. This recipe is from Ken Forkish's Flour Water Salt Yeast. While this recipe is for white bread, the variants for whole wheat blend and "levain" (sourdough) loaves are only slightly more complicated. (I highly recommend them! My favorite so far is Forkish's pain de campagne, a mix of levain and instant yeast and white and whole wheat flour.)
Ingredients
- All-purpose flour: 500 grams, or just shy of 4 cups.
Bread flour is ok too; don't use pastry flour or whole wheat flour. If you're measuring flour by volume, measure it "loose"---don't pack it into the cup measure. - 90 F water: 390 grams, or slightly more than 1 and 1/2 cups.
- Sea salt: 10 grams, or a scant 2 teaspoons.
You don't need fancy salt, but make sure you get some that is non-iodized. - Instant yeast: 1/8 teaspoon (or 0.4 grams, but my kitchen scale isn't precise enough so I always use the measuring spoon for this).
Equipment
- Big mixing bowl. Plastic, glass, or metal. I normally use the bowl from my stand mixer; that's about the size you're looking for.
- Wooden bowl. This needs to be a bowl loose flour will stick to the sides of; at least half the size of the mixing bowl.
You can (but absolutely don't need to) use a 9 inch wicker banneton to get nice flour lines around the loaf. - Dutch oven. This is what you'll bake the bread in. If you don't have one, a pizza stone will work (but see the note on this below).
- Kitchen thermometer. The kind with a pointy end. Technically optional, but you'll do better with one than without. Instant-read is best but a standard meat thermometer will also do fine.
- Kitchen scale or measuring cups. Measuring ingredients by weight is more reliable and actually easier, but I've made perfectly good loaves measuring by volume too.
Timeline
The whole process takes 12-14 hours, so start 12-and-a-half hours before you want to bake. For example, if you want to bake the dough at 9am, begin at 8:30pm the night before. This is a long time! But rest assured that the total time you'll spend actively doing anything is no more than about 30 minutes (in total!). The rest is just waiting around---on a schedule. A more specific timeline, which will make sense after you've read the steps below, is: Hydrate the flour at 8:30pm; mix the dough at 9pm; folds at 9:30pm, 10pm, and 10:30pm; shape and proof the loaf (and turn on the oven!) at 9am; bake at 10:15am; loaf ready to cool by 11am; ready to slice at 11:20am. (You could do this bread all in one day by increasing the quantity of instant yeast to 1/2 teaspoon and using 30g (1/8 cup) less water: Hydrate at 9:30am; mix at 10am; fold at 10:30am and 11am; shape and proof at 3pm; bake at 4:15pm; ready to cool by 5pm; ready to slice at 5:20pm. The more you compress the timing of these steps, however, the less natural fermentation will occur and the less flavorful the resulting loaf will be.)
Steps
Hydrate the flour
First, get your water to the right temperature. Run the tap until you get the water to between 90-95 F, using your thermometer to gauge. If you're measuring out the water by weight, the best way is to fill one cup with the warm water, then pour into another on the scale. Now combine the warm water and flour in the large mixing bowl. Then use a big spoon to gently mix the flour and water together. Make sure to incorporate the flour that tends to collect down at the bottom of the bowl, underneath what has already combined. Cover with plastic or a kitchen towel and wait 20-30 minutes. This step, which is called "autolysing" the flour, accomplishes a lot of little things, which you can read more about for extra credit.
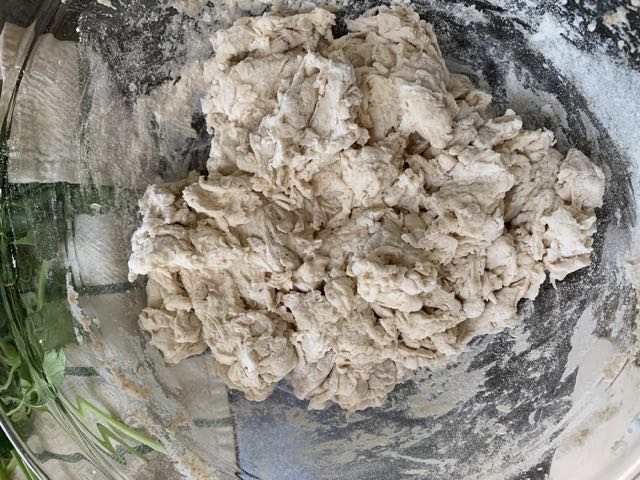
This is what hydrated flour and water looks like: a gentle mix!
Mix the dough
After the dough has hydrated, add the salt and yeast, sprinkling each evenly over the top of the combined flour and water. Wet your hands. (I always do this next step by the sink so I can keep my hands wet, which will mostly-ish keep the dough from sticking to you.) Grab the bottom of the dough and pull it up and over itself from each "corner" to envelop the salt and yeast. (There's video of this technique, which is also used to fold the dough after mixing, below.) Next use the "pincer method" to combine the ingredients: squeeze the dough between your thumb and pointer finger several times (five to ten) working down the length of the dough. Grab it all, flip it over, and repeat, once or twice, or until you can no longer feel any granules of salt. You don't need to check, but if you want to, the mixed dough should be around 78 F. Leave covered for half an hour.

This mixed dough has been folded once (see below), which is why it has a tight shape around the edges. Mixed dough before each fold will be slack---spread out more along the bottom of the mixing bowl.
Fold the dough (several times)
Now you're trying to help the gluten develop before you leave the dough to rise overnight. To do this, get your hand under the dough, grab the bottom of the dough on one side, and pull it up and over itself (stretching but not breaking as you pull). Do this for each "side" of the dough --- I usually end up doing this four times, for each quarter of the dough. Then pick the dough up and flip it over, so the parts you've stretched up and over (the "seams") are now on the bottom of the bowl. Do this two or three more times at half-hour intervals, for a total of three or four folds, covering the dough between folds.

Folding the dough is much easier with two hands!
Leave to rise overnight
Leave the dough to rise overnight, covered with plastic to keep the dough from drying out. If your house (or kitchen) is 70 F during the day and 65 F at night, this will take 11-13 hours. If it's warmer, less; colder, more. In the morning, your dough should be at least double in size, maybe triple.
Shape the dough into a loaf
The next morning, after the dough has risen, shake a nice layer of flour out onto a counter or a big cutting board---an area about 2 feet wide by at least a foot deep. Get some flour on your fingers too. With one hand, gently pull a bit of dough away from the edge of the mixing bowl, and with your other hand, sprinkle flour down between the bowl and the dough. Do this all the way around the edge of the dough until the dough is no longer sticking immediately to the bowl. You might have to go around more than once; make sure you get your hands and some flour down toward the bottom of the bowl. Then, invert the bowl and let the dough fall out onto the floured work surface. (You might have to help it along with your hands.) You should be able to feel all the gas that's now incorporated into the dough. Don't worry if you poke some holes, but do treat the dough gently; you want to keep this gas in the dough now!
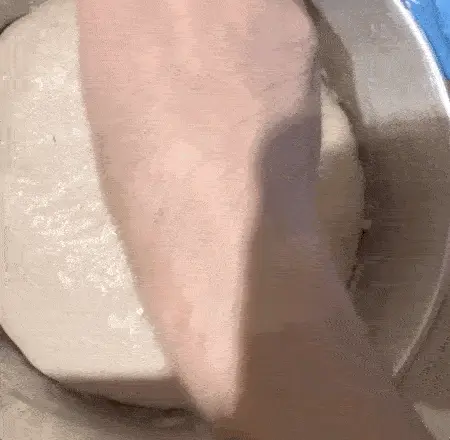
Separating the dough from the mixing bowl: also much easier with two hands!
Once you have the dough out on the work surface, repeat the process you used in folding the dough to bring the bottom corners of the dough up over itself into a bundle, then flip the dough over so the seams are facing down. Now shape the dough into a ball-like shape. I do this two ways: (1) by using the outer edges of my hands to squeeze the bottom edges of the dough in on themselves, turning the dough as I go; (2) by using the outer edges of my hands to pull the dough towards me on the work surface, then turning it a bit, then repeating. In the end, you want it to look like a nice, mostly spherical blob of dough. You're trying to get all the stretched pieces of the dough into a tight cluster on the underside. You may need to add flour to your hands and/or the top of the loaf as you do this step.

The rarely seen one-handed shaping technique.
Proof the dough
Now you're going to let the dough do its final rest and rise before baking, which is called “proofing.” To do this, scoop your dough up between your hands and gently drop it into your generously-floured wooden bowl. Cover with plastic or a kitchen towel and leave for one hour. (But you aren't done! You need to turn your oven on now, too. See the next step.) As noted above, you can do this in a wicker banneton for nice flour ridges on the final loaf, or you can do it in a regular wooden bowl.
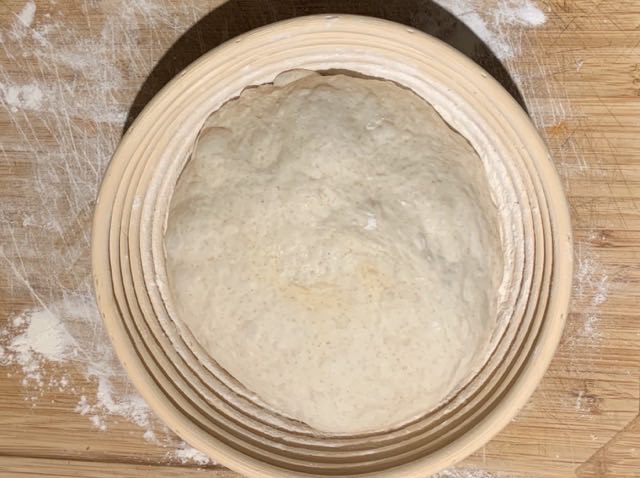
Dough ready to proof, before being covered.
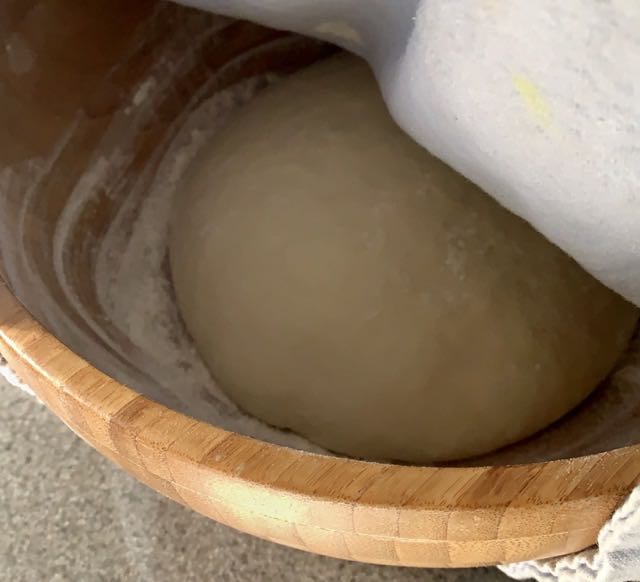
The same process in an ordinary wooden bowl.
Turn on the oven
You need your oven and the dutch oven to be piping hot by the time you put the dough in to bake. Turn your oven on now (an hour before baking) to 450F and put the dutch oven inside to preheat along with it.
Test the proof
You can leave your dough to proof for up to an hour and a quarter. You know it's perfectly proofed if you take a well floured finger, poke it into the dough, and the dough rebounds slowly and not quite fully. But it's not a disaster if your dough is slightly under- or over-proofed---this just affects the size and distribution of air bubbles in your baked loaf. Don't stress about it.

Proofed dough ready to go in the oven.
Bake!
Finally! Turn the proofed dough back out onto your floured work surface, so that the seams of the loaf, which were on the bottom of the bowl, are now facing up. Now carefully take your dutch oven out of the oven and remove the lid. Scoop the dough up between your hands and gently drop it into the dutch oven. Since the corners and folds you gathered while shaping the loaf are now on top, they will create the nice tears and breaks in the crust that you'll see in the finished loaf. Replace the lid and put the whole thing into the oven to bake for 20 minutes. Leaving the lid on helps the dough retain moisture as it bakes, which is important for the development of the crust.
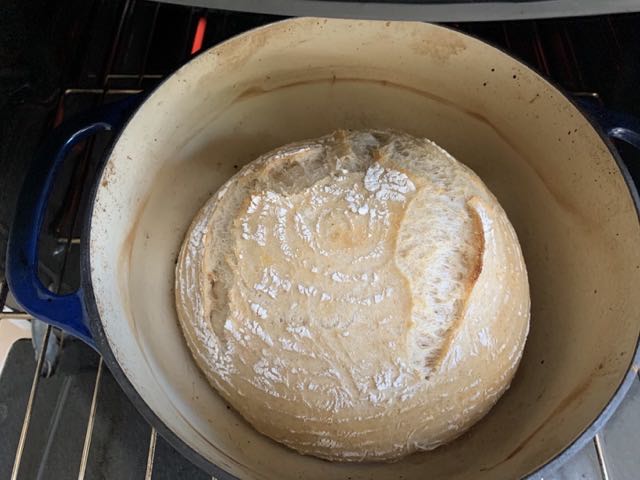
The loaf after 20 minutes of baking.
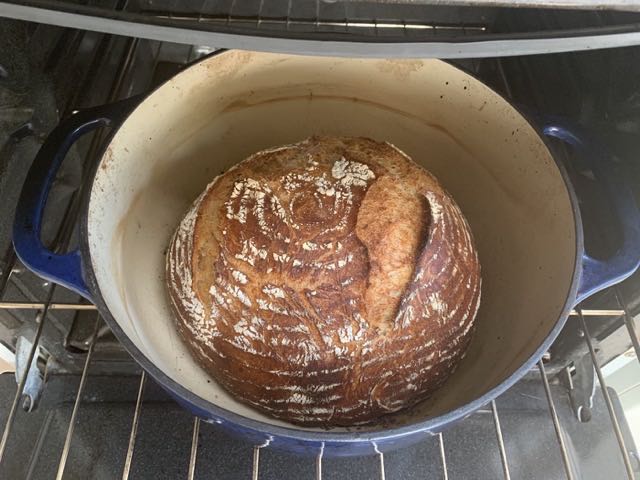
After 20 minutes, remove the lid to the dutch oven. The loaf should have puffed up substantially, and you should see tears in the crust. Return the loaf to the oven without the lid on the dutch oven so that the crust can brown while the loaf finishes baking. Bake for another 20-30 minutes, or until the loaf is a serious dark brown---ideally with bits of char just along the top edges of the loaf. My oven doesn't have a window, so I bake for 20 minutes and then check every 5 minutes thereafter until I think it's done.
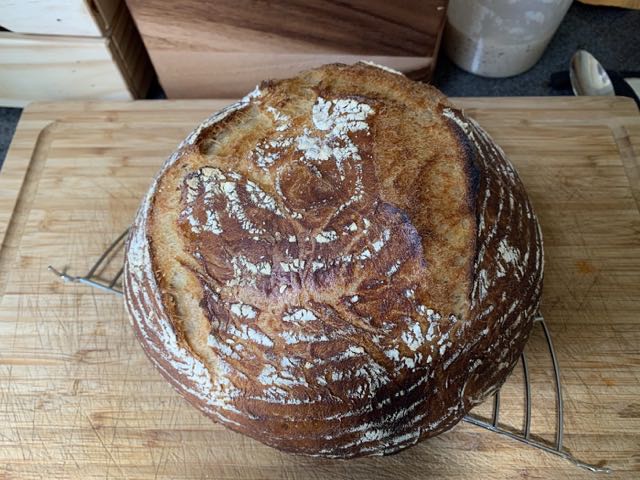
The loaf after 45 minutes of baking.
I took it out at this point, but you could leave it to get even darker. Alternative: If you don't have a dutch oven, you can bake your dough on a pizza stone, and at a stretch maybe even a baking sheet. If you go this route, you still need to add some moisture to the oven so that the crust bakes properly. You can reportedly add a shallow pan of boiling water to a rack beneath the loaf to accomplish this. I haven't tried this method, so I don't know how well it works!
Let cool
The loaf needs to cool for at least 20 minutes after you take it out of the oven, before you can cut it open. I use a spatula to help lever it out of the dutch oven. If you have any kind of wire cooling rack, use that. Otherwise, you can prop the loaf up at an angle using some tupperware or even silverware --- the point is just to let air flow all around the loaf, including the bottom.
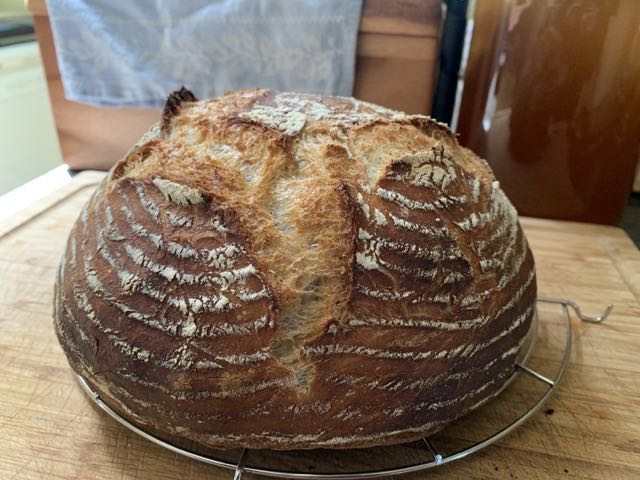
Done! You might hear a fun crackling sound while the loaf cools.
And voila!
Fresh bread! The crust will be deliciously crispy and fly everywhere when you cut into the loaf. This white bread will keep for about two days; you should store it in plastic. After the first day, the crust will lose its crisp (which you can resuscitate a little bit in a toaster), but the bread will stay delicious!
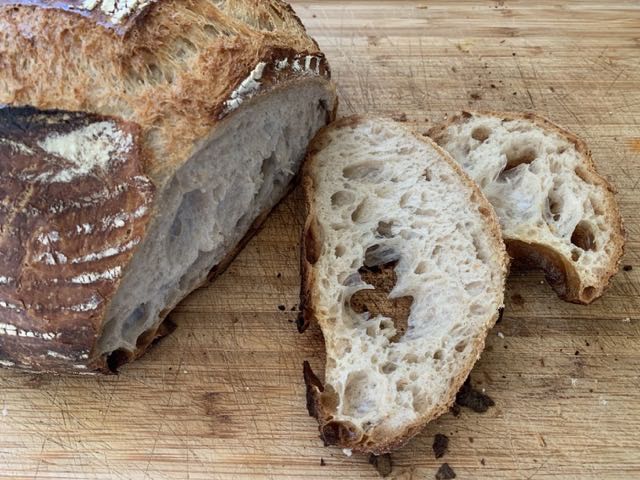
A nice, open, irregular crumb.